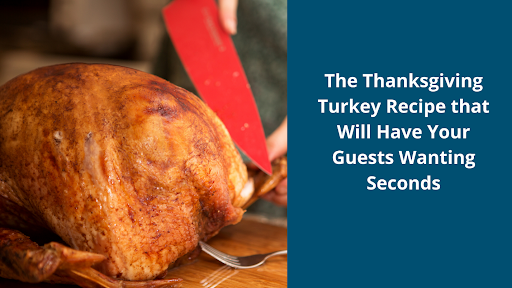
Thanksgiving is around the corner and our culinary team here at Dorsey College is beginning to make the necessary preparations. With Thanksgiving just a few weeks away, we thought we would share some holiday recipes with each of you! Be sure to stay tuned to our blog over the coming weeks to check out our Thanksgiving series.
Is this your first year in charge of cooking the turkey for Thanksgiving? Or maybe you’re a seasoned turkey veteran looking to add some spark to your bird? Perhaps you’re somewhere in between.
Whatever your Thanksgiving turkey skill level is, you clicked on this blog to hopefully get some tips ahead of the big day. So here is the perfect Thanksgiving turkey recipe straight from our culinary director and turkey expert Chef Matthew Schellig.
PART ONE: THE BRINE
We need to start with brining the turkey. If you’ve cooked a Thanksgiving turkey before, you may already familiar with brining. But if you’re a newbie to cooking the Thanksgiving turkey and have no idea what a brine is, here’s your crash course.
A brine is basically salted water. Historically it’s been used to preserve and season food. Brining a turkey is part of the Thanksgiving tradition so there are many different brining recipes. However, for maximum flavor, try Chef Matt’s brine:
INGREDIENTS FOR BRINE: (We recommend getting these before the day before Turkey Day: remember many people are preparing for the same meal as you)
- 1 gallon of water
- 1 cup of cider vinegar
- 1 bu (bushel) of sage
- 1 cup of salt
- 1 cup of brown sugar
Method:
- Mix all ingredients together
- Place turkey in a 5 gal bucket
- Cover turkey with brine
- Cover the bucket
- Soak for a minimum of 24 hours in the refrigerator
NOTE: 1 gallon of Brine should cover a 12 lb bird. Make sure your brine pot/bag has a lid. Put the brining pot (with the turkey inside) in the refrigerator.
PART TWO: COOKING THE TURKEY
Reminders:
DO NOT re-season when you cook the turkey. The brine is the seasoning in this recipe!
When roasting the turkey, LEAVE COVERED. The sugar in the brine will caramelize before the turkey is done.
METHOD:
- Heat oven to 275 degrees
- Melt butter roughly a ½ lb and pour it over the turkey, spread with hands
- Get some butter under the breast skin too if you can.
- 4” deep roasting pan with a mixture of carrots celery and onion rough cut large to act as a “flavorful rack” in the pan.
- Place turkey in the pan and then in the fully heated oven.
- After an hour turn the oven up to 325 degrees
- Allow for 20 minutes for each pound, so a 12 pound turkey will take 3-4hrs roughly
- Never blind bake or roast or really any type of cooking based on time. Cooking is a craft don’t ever remove yourself from the process! When cooking a turkey, it is critical to get the bird to the correct temp.
- Always set your timer for 10-15 minutes earlier than the item should need to fully cook. This allows us to be reminded to evaluate the cooking temp before it is too late.
- If the turkey picks up too much color early on then make sure to cover with aluminum foil and baste frequently
- If the turkey does not pick up enough color during the cooking process then remove the bird from the oven and turn the oven up to 450 degrees. Wait until the oven comes to temp to carry on. Rub oil or butter back on the bird and cook until it has enough color at the high temp.
The Turkey is done when a thermometer is injected into the thickest parts of the bird (breast and inner thigh) and it reads 165 degrees F. Your turkey is not done until that point no matter how you are cooking your bird. One step that is missed often in this process is the after cooking, allowing resting time for the turkey. It is hard work to be roasted in the oven so give your turkey at least 20 minutes out of the oven before slicing it and serving. The extra time to rest allows the juices in the turkey to redistribute evenly throughout the turkey moistening the meat. It can seem painful to watch this delicious turkey resting but be patient – you’ll be glad you did!
There you have it! Here are some tips on preparing a delicious Thanksgiving turkey. We hope these tips help you as you prepare for Thanksgiving dinner. Be sure to stay tuned in the coming weeks as we share additional tips and tricks ahead of Thanksgiving!

